
Tuesday, May 15, 2012

Friday, March 2, 2012
Saturday, July 16, 2011
lovely little blocks!
i found these gorgeous set of blocks during my Melbourne trip!..they are tiny colorful blocks that come in a match box!these were made in Germany.


just too sweet!

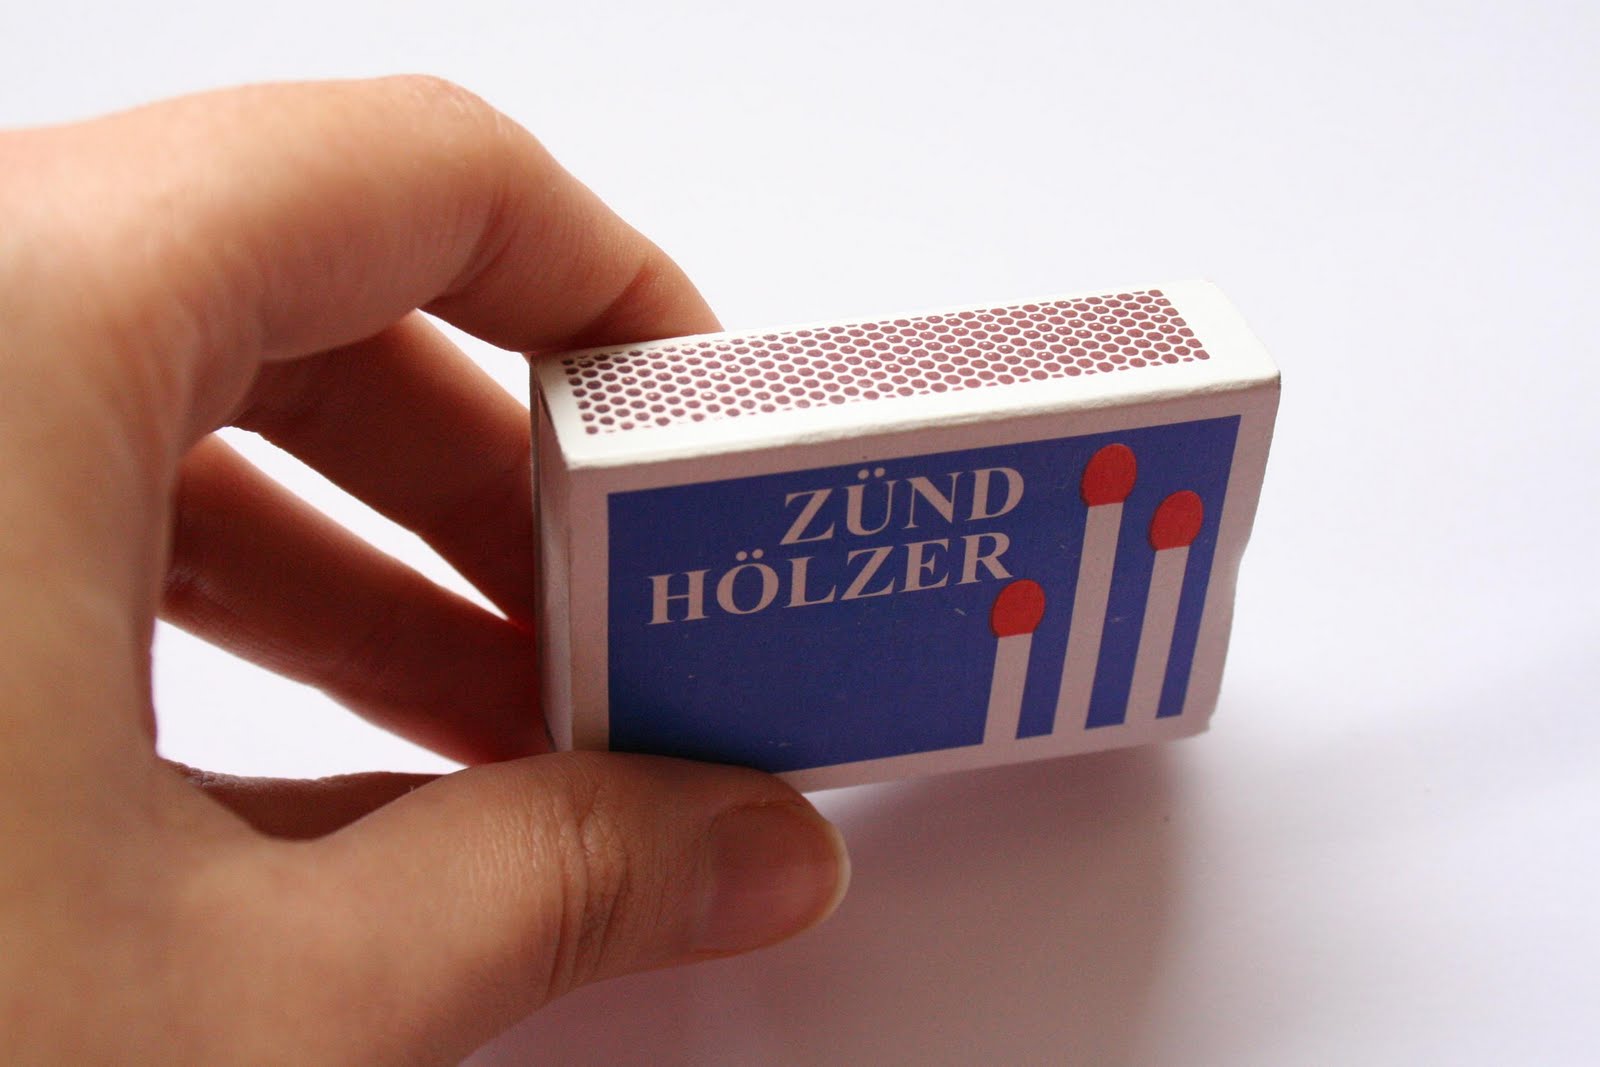

just too sweet!

Thursday, August 26, 2010
Thanks Anu:)
Anuradha Shankar showed her appreciation for little land and even featured it on her blog. Thank you so much Anu!:)
see:
http://anushankarn.blogspot.com/2010/08/little-land.html
her blogs:
http://anushankarn.blogspot.com/
http://anustoriesforchildren.blogspot.com/
see:
http://anushankarn.blogspot.com/2010/08/little-land.html
her blogs:
http://anushankarn.blogspot.com/
http://anustoriesforchildren.blogspot.com/
Thursday, August 12, 2010
Thanks Deborah:)
News about little land reached France:)Deborah Beau was so wonderful to email me saying she liked 'little land' and would like to feature it on her blog.
Thanks Deborah:)
Seee:)
http://kickcanandconkers.blogspot.com/2010/08/little-land.html#comments
Her blogs are a delight to go through!
http://kickcanandconkers.blogspot.com
http://kickcanandconkers.tumblr.com/
http://twitter.com/kkconkers
Thanks Deborah:)
Seee:)
http://kickcanandconkers.blogspot.com/2010/08/little-land.html#comments
Her blogs are a delight to go through!
http://kickcanandconkers.blogspot.com
http://kickcanandconkers.tumblr.com/
http://twitter.com/kkconkers
Sunday, June 13, 2010
i sold a little land:)
sold my first set of little land of 30 little pieces and a base.
MAIS school is considering buying some for their prep classes too!
These will be of various themes depending on their syllabus.
yay!
For anyone interested in placing an order:
nalishachouraria@gmail.com
Thursday, April 22, 2010
closeups!
I completely ignored the details on the previous posts! I got a few pieces engraved with simple graphic patterns too! They really surprised me..quite a beautiful technique.

Monday, April 19, 2010
at the exhibit!
The exhibit was set up using white strips of fabric and hanging card that was designed and laser cut. The lights allowed beautiful shadows on the white walls. It looked soooo dreamyy:)


The night the toys came alive!
A toy exhibit by the Srishti toy lab that was held at 1 Shanti Road on the 16th and 17th of april! 9 projects were on display, all so different!Was a great success!woohooo


look what i did myself:)box box box
A few weeks back i had gone to Gautam and Lavanya's workshop to make my little land box. I had underestimated box making!0.0 I was there for over 4 hrs. Was tiring but it was a wonderful experience! Although it was Easter, Gautum and Lavanya were kind enough to make time for me and were so accomodating!Each step was shown to me once after which i did it myself!:)


The workspace:

Here they were cutting logs of wood to the required size using the band saw,plaining it on the plaining machine to make it even and smooth and then cutting grooves on the table saw:

Here, the pieces were cut for the sides of the box, then smoothened on the belt sander(scary!),then the edges were cut for the single finger joint on the band saw. After this i chiselled the parts that could not be cut on the band saw and then filed it using a filer. Then the sides were all joined together with Fevicol and stuck on a plywood base. The insides were then measured to find out if they were perpendicular. Once this was determined, the pieces were secured with rubberbands for it to stay in place until it dried up:

Once the sides were fixed well, i had to fill the gaps between the joints. I did this by making a pasty dough out of saw dust and fevicol and applied it using a blade so that it could be pushed through the gaps. Once this dried, i put another layer. Now it's ready to be cut and sanded:

Thursday, April 1, 2010
feedback and suggestions on the box!
Once i had the sample box, i wanted to take some advice from someone who would be able to tell me what material would be good for it and also overall feedback and suggestions. So i spoke to John, Gautam, Lavanya, Sudipto. It was sooo helpful!

John: He said that the MDF sample looked the way ti did only because of bad craftsmanship and that it could be polished and finshed to be made to look pretty decent. He said that i should give it to a polisher who would sand,fill the gaps, make it even and polish or paint it, based on the look i want. A wooden box would be more expensive to make compared to MDF. Here are some of the things we discussed:
Sudipto: He explained the whole process of box making so that i have an idea. He also showed me how to do drawings that would make it easier for me to explain to the carpenter. He suggested i work with timber instead of MDF. He also showed me ways to determine and differentiate between the cost of producing a prototype and the manufacturing cost of several units of a product.
Gautam: We covered almost all aspects of the box in our conversation-material,hinges,design,cost, etc. MDF is cheap but cant hold hinges/nails well, cannot withstand moisture at all, not very durable and is not a very child friendly material as it uses glues that are not safe.Also, the lid of the box could fall and jam fingers as it is very heavy and the hinges are such. For this he suggested:
1. The lid could be bigger than the bottom which would make it hard to jam fingers.
2. Could be a box with a lid that can be removed completely rather than hinged.
3. The hinges could be of a better quality, which enables the box to open and close differently(slower) but these hinges would be very expensive.
He aslo said i should find out if there's anything i can spray the MDF with, to make it moisture resistant because even a little bit of moisture can make the MDF bloat.
He also said i should make the grooves much wider.
He said having a table top with grooves would create a separate play space for little land, but a box would allow them to carry it anywhere and play.
He said i should speak to Lavanya as she knew alot about box making and could probably help me make one.
Lavanya: She asked me what i like about the box and what i didnt like about it.
MDF doesnt feel as good/real as wood.
Could look at a different joinery for the corners of the box.
If worked on, MDF can be made to look really nice and finished.
Alot of points overlapped with the points that came up when i spoke to gautam.
I told her i used sand paper to sand some of the grooves but it was taking me too long, so she suggested i use a piece of wood or something solid between the sandpaper which would speed up the process and sand it evenly.
All this information was extremely useful! I will be going to Lavanya's workshop on Sunday to create a box with her. I'll be doing something like this for the first time!Nervous but very excited!:)
sample box/base
I got a sample box made finally over last weekend. I gave it to a local carpenter/furniture maker. He charged me Rs.500 for it(started with Rs.800 and ended up at Rs.500). He said it costs more because he had to buy an entire 8*4 sheet of MDF for my tiny box. I wasnt too happy with the box. I told him exactly how i wanted the pieces to fit in the grooves but none fit. He said the blade that the grooves were cut with, were of only 2mm and 5 mm so he passed the 2 mm blade twice but it still needed to be sanded for the pieces to fit well. It wasnt finished. The box was made with MDF and ply for the base. The hinges were of a bad quality, etc.


Thursday, March 25, 2010


little land in the making
I was daydreaming of a finished set of little land..a neat looking box with yummy looking pieces, all packaged in lovely fabric, Furoshiki style (check previous posts on packaging). I could imagine a little brown tag with minimal graphics lasercut..sigh..
I wanted to extend the little land illustration to its branding/identity.

A quick mood board of the colour swatches and what i visualized:

box making
Today i decided on the box for little land. I wanted a box where the lid/top is the little land base with the grooves. I met a carpenter and gave him the dimensions and the specifications. He first said he'll make the box in wood and then attach the grooved surface on the top because MDF may not have a good finish like wood. This would cost me about 2.5-3k!!I almost fell off my chair. Told him that i needed everything in MDF and at minimal cost. I asked him to make 2 different kinds of boxes and 1 of those in MDF and 1 in wood. Lets see how that turns out. Dont even want to think about the cost..ugh..the things one needs to do to make the perfect toy..
Here are the types of boxes:


Here are the types of boxes:
I wanted the lid to be such that one side has the grooves and the other is plain so that it can be slid open and turned to the plain side when little land is not in use. The box will be used to keep the pieces(little land shapes). The dimensions i specified were:
height= 8 inch
width=11 inch
thickness=1.5 inches(excluding the 1 inch grooved surface)
grooves on the lid:
space between the grooves=2.5 cms
thichness of groove=4mm

This the second type of box, where again the grooved surface itself forms the lid. can be opened and closed but cannot be detached and changed like the above example.
I asked him to work with the same dimensions.


He said these 2 pieces would be ready in 2 days after which i can make changes or finalize before making several units. I hope everything turns out the way i imagine it or better.
Tuesday, March 23, 2010
MDF it is!^-^
Today i went to the laser cutter again! but returned satisfied this time:) I got quite a few pieces cut today-this time on MDF. I was really happy to see how it turned out!
The negatives of the shapes looked good too. When they finished cutting all the pieces, the brought the pieces and the board with the negative cutouts and to my surprise started fixing the pieces back into the cutouts!They said it was an easy but fun puzzle:D


It cut neatly, although they said it takes a bit longer to cut mostly because of its thickness(4mm). The pieces didn't look as flimsy and breakable as the ones cut in rubber wood.
The cool thing was the burnt edges! When i got wood laser cut, no matter how much i wiped it, some of the black soot would still rub off onto whatever it came into contact with and also it remained half worn out(stains of clack/brown here and there-not uniform in color). Whereas with MDF, when i wiped it once, it would still remain uniformly black but wouldnt rub off.
The pieces look quite nice. I also asked him to cut me a shape from veneer but he couldnt do it for long because the veneer sheet was prone to bending which was causing problems for cutting.
I was there for about 1.5 hrs. I used up a little less than 1.5 sheets(12*24 inches each) of MDF and got about 30-35 pieces.


Monday, March 22, 2010
moving on...MDF
So after looking at my options, i decided to go with MDF for this stage. In my initial prototype, i used MDF for the base and it looked quite good. Today i went 4mm small size MDF hunting. Every wood vendor said id have to buy the entire sheet which was 8*4 ft for Rs.400 and be a waste since i dont need so much!I finally found someone who agreed to give me the size i needed. He gave me a 4*2 ft for Rs.100. I also need 19mm MDF for the base(he said in that range, either 18mm or 25 mm was available)so he agreed to cut me the required size(which i now need to determine) instead of having to buy the entire sheet.
8*4(4mm)=Rs.400
4*4(4mm)=Rs.190
4*2(4mm)=Rs.100
8*4(18mm)=Rs.1100
MDF is made from wood and other lingo cellulosic material refined into fibre and reconstituted with a resin binder. It's superior edge qualities and machineability characteristics, which combined with smooth finish and superior paintability make MDF ideal for high quality furniture applications. It is ideal for all furniture applications, children's toys, for interior application like snooker tables, paneling, partitioning, cupboards, TV cabinet, etc.
Its major characteristics:
1. Can be shaped, molded, joined, rebated, turned and grooved like solid timber
2. Finely sanded on both sides for easy finishes like painting, lamination, veneering
3. No splinter, free from knots and cracks
4. homogeneous strength in all directions

Tomorrow i'm going to get my first batch of pieces cut in MDF!I hope it turns out okay.
Saturday, March 20, 2010
packaging:)
I was thinking of other ways of packaging little land. I was trying to come up with ways to wrap up the pieces in the case of the base being a table top. When i was little(even now!), everytime i bought something new, from a board game to stationary i would be so excited to open it up. So i wanted to add an element of surprise to this 'experience' of opening something new:) I wanted several layers or pockets and this is something i found, very similar to what i was thinking!!


I also tried to do the same with some leftover party decoration-stips of colored crepe paper just to get an idea of how it would shape up with pieces of such varied shapes and sizes. i did a quick version:

Friday, March 19, 2010
veneer marquetry!!
During my visit to several wood shops i saw long thin wooden beadings. These had some designs on them. It wasnt the design that caught my eye but i was curious to know what technique was used to do that. They said they didnt know how but just that it came like that from China!Just today i found out what its called and how its done!Its called Marquetry and its beautiful!
Marquetry is the art of inlaying different woods, and other natural materials to create a picture. To inlay is to set a material onto another surface, but recessed in so that inlayed material is at the same level as the surface. Most of the time the inlayed material is wood but it could be ivory, mother-of-pearl, tortoise shells, bark, straw, stone, metal, gems, etc. All the peculiarities, grain, knots, defects, etc. are used in the overall effect of the picture. Marquetry is often found on the finest furniture. It has been around for thousands of years, and today is considered something of a dying art. Making these beautiful pictures is a long tedious process. Each piece has to be cut out with the utmost attention to detail. Then they have to be assembled, recut, and so on. For the finest works of art 10,000 man-hours is not unheard of. The pieces are normally cut a variety of ways. For thin wood veneers, a sharp hobbyist knife is often used. Various types of copping and jeweler saws are also employed, but most modern work is done with an electric scroll and band saws, routers, lasers. The process of picking, cutting, placing, and gluing can take forever. The majority of people who do this, do it as a hobby!


Subscribe to:
Posts (Atom)


